First off i want to apologize if you cannot follow me at all. . . I understand that I am horrible at explaining, and not good at taking pics either,(also some are sideways) but I made my own pattern as I went and it turned out lovely so I wanted to share. Just use your little girls measurements, no pattern required.
I also made the top and matching brother tee pictured above and will post tutorials on them in the following week.
You Need:
1/2 to 3/4 yd main fabric
1/2 yd lining fabric
elastic (cut to measure of waist)
thread
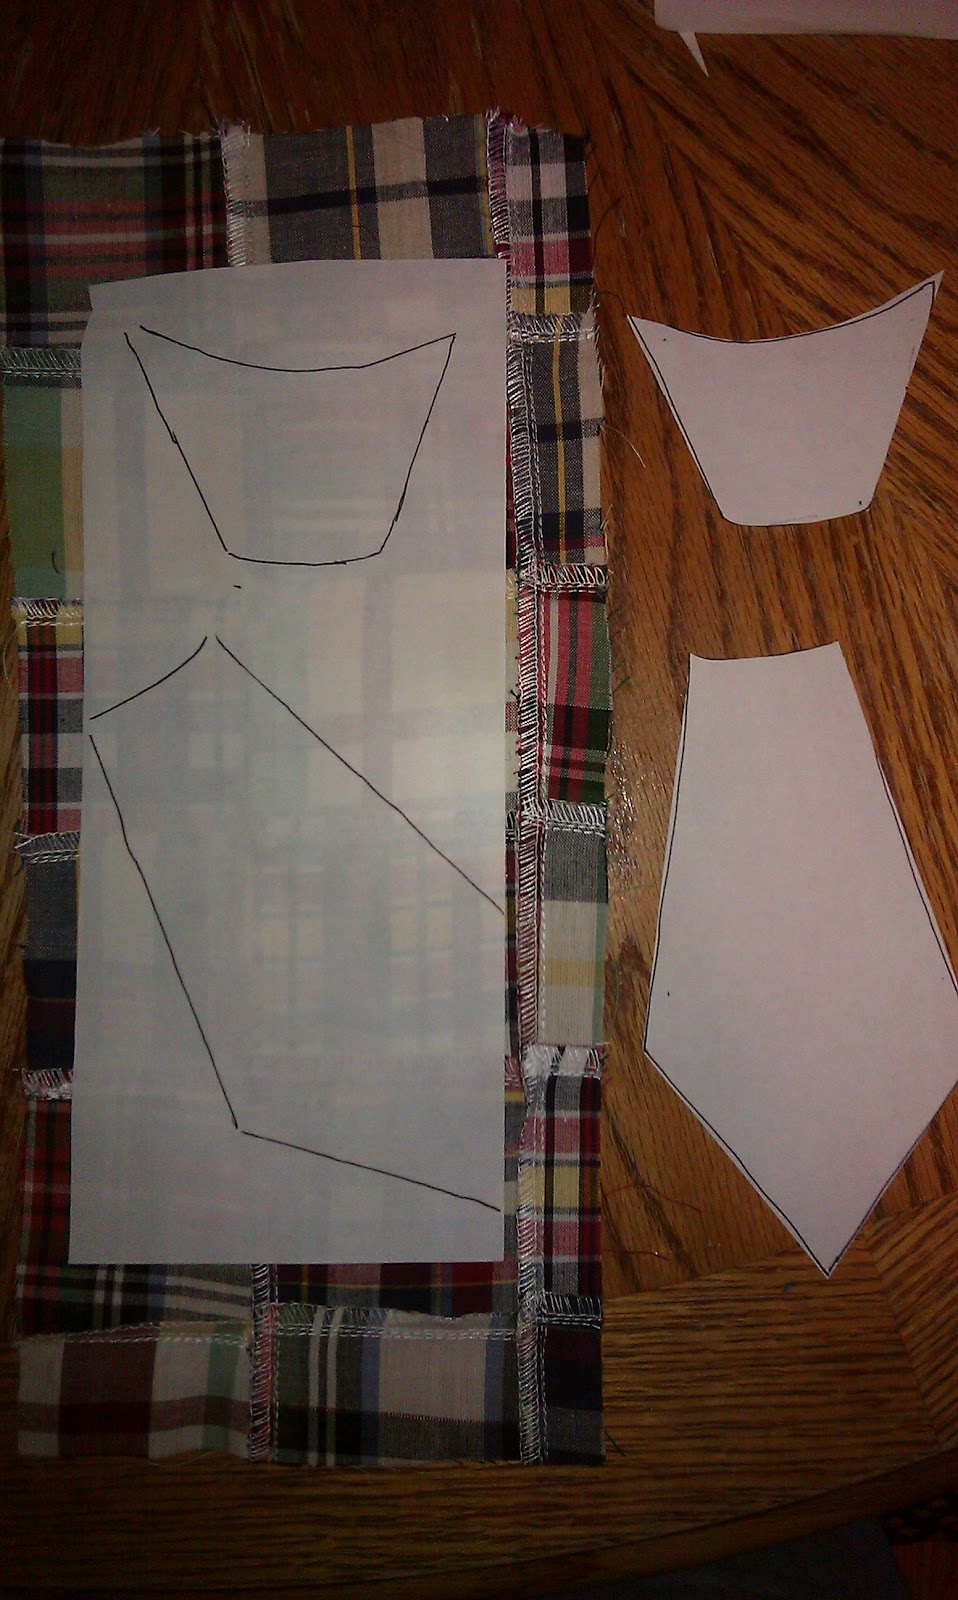
You will be cutting 3 main pieces: a waist band, skirt bottom, and skirt lining
Measure 3 measurements: waist size (where u want skirt sitting), fullest hip size, and length you want skirt.
*Cut the Main skirt piece out of main material, its just a big rectangle like so:
(hip measurment x2= length. . . . and length you actually want finished skirt to be minus 1"=height)
example: my daughters hips were 25" and i wanted it to be 18"long so i cut a rectangle 50"x17"
*Cut the skirt lining as follows:
(hip measurement x1.5=length. . . and main skirt pieces length minus 4"=height)
example: hips are 25" length will be 37.5" and skirt is cut 17", so height will be 13"
*Cut waistband 6" high, by hip measurement plus 1" (for seam allowance)
Next, fold all 3 pieces over one at a time with the right sides together and sew the back seams on each, then press them out flat.
Take the bottom hem of the main skirt piece and sew a loose running stitch around it. I used embroidery floss, but doubled up regular thread can be used.
Pull the thread tight little by little to gather the bottom up
this is what mine looked gathered all up, dont tie threads off yet, mine was gathered too much.
Place skirt lining over gathered skirt bottom, right sides together and finish gathering/loosening skirt bottom until it is same width as lining, then pin them together, making sure to match up your seams.
pic of pinned
Sew skirt bottom to lining, removing pins as you go
when finished turn inside right
then fold lining into skirt bottom till both top seams are flush
should look something like this. . . you can see bubble bottom taking place
do the same thing to the top of the main skirt piece as bottom, (loose running stitch, then gather) match it to the lining top as you did on bottom, pin them together, then make another running stitch with both together and gather them both up.
gather them up to the same size as the waist band
place waist band over skirt, right sides together, and pin gathered skirt to waistband
sew skirt to waistband
turn inside right
fold down top a little bit (maybe 1/4") and press
Fold down again big enough to house your elastic and press again
sew around all the way, except leave a small opening for elastic to go through
use a safety pin to thread elastic through opening
when you are finished pin the two ends of the elastic together and sew them
i usually do two or more zigzag stitches
sew the gap back up. . . if you have a tag, you can place it in the hole before you sew it like i did
finished skirt!